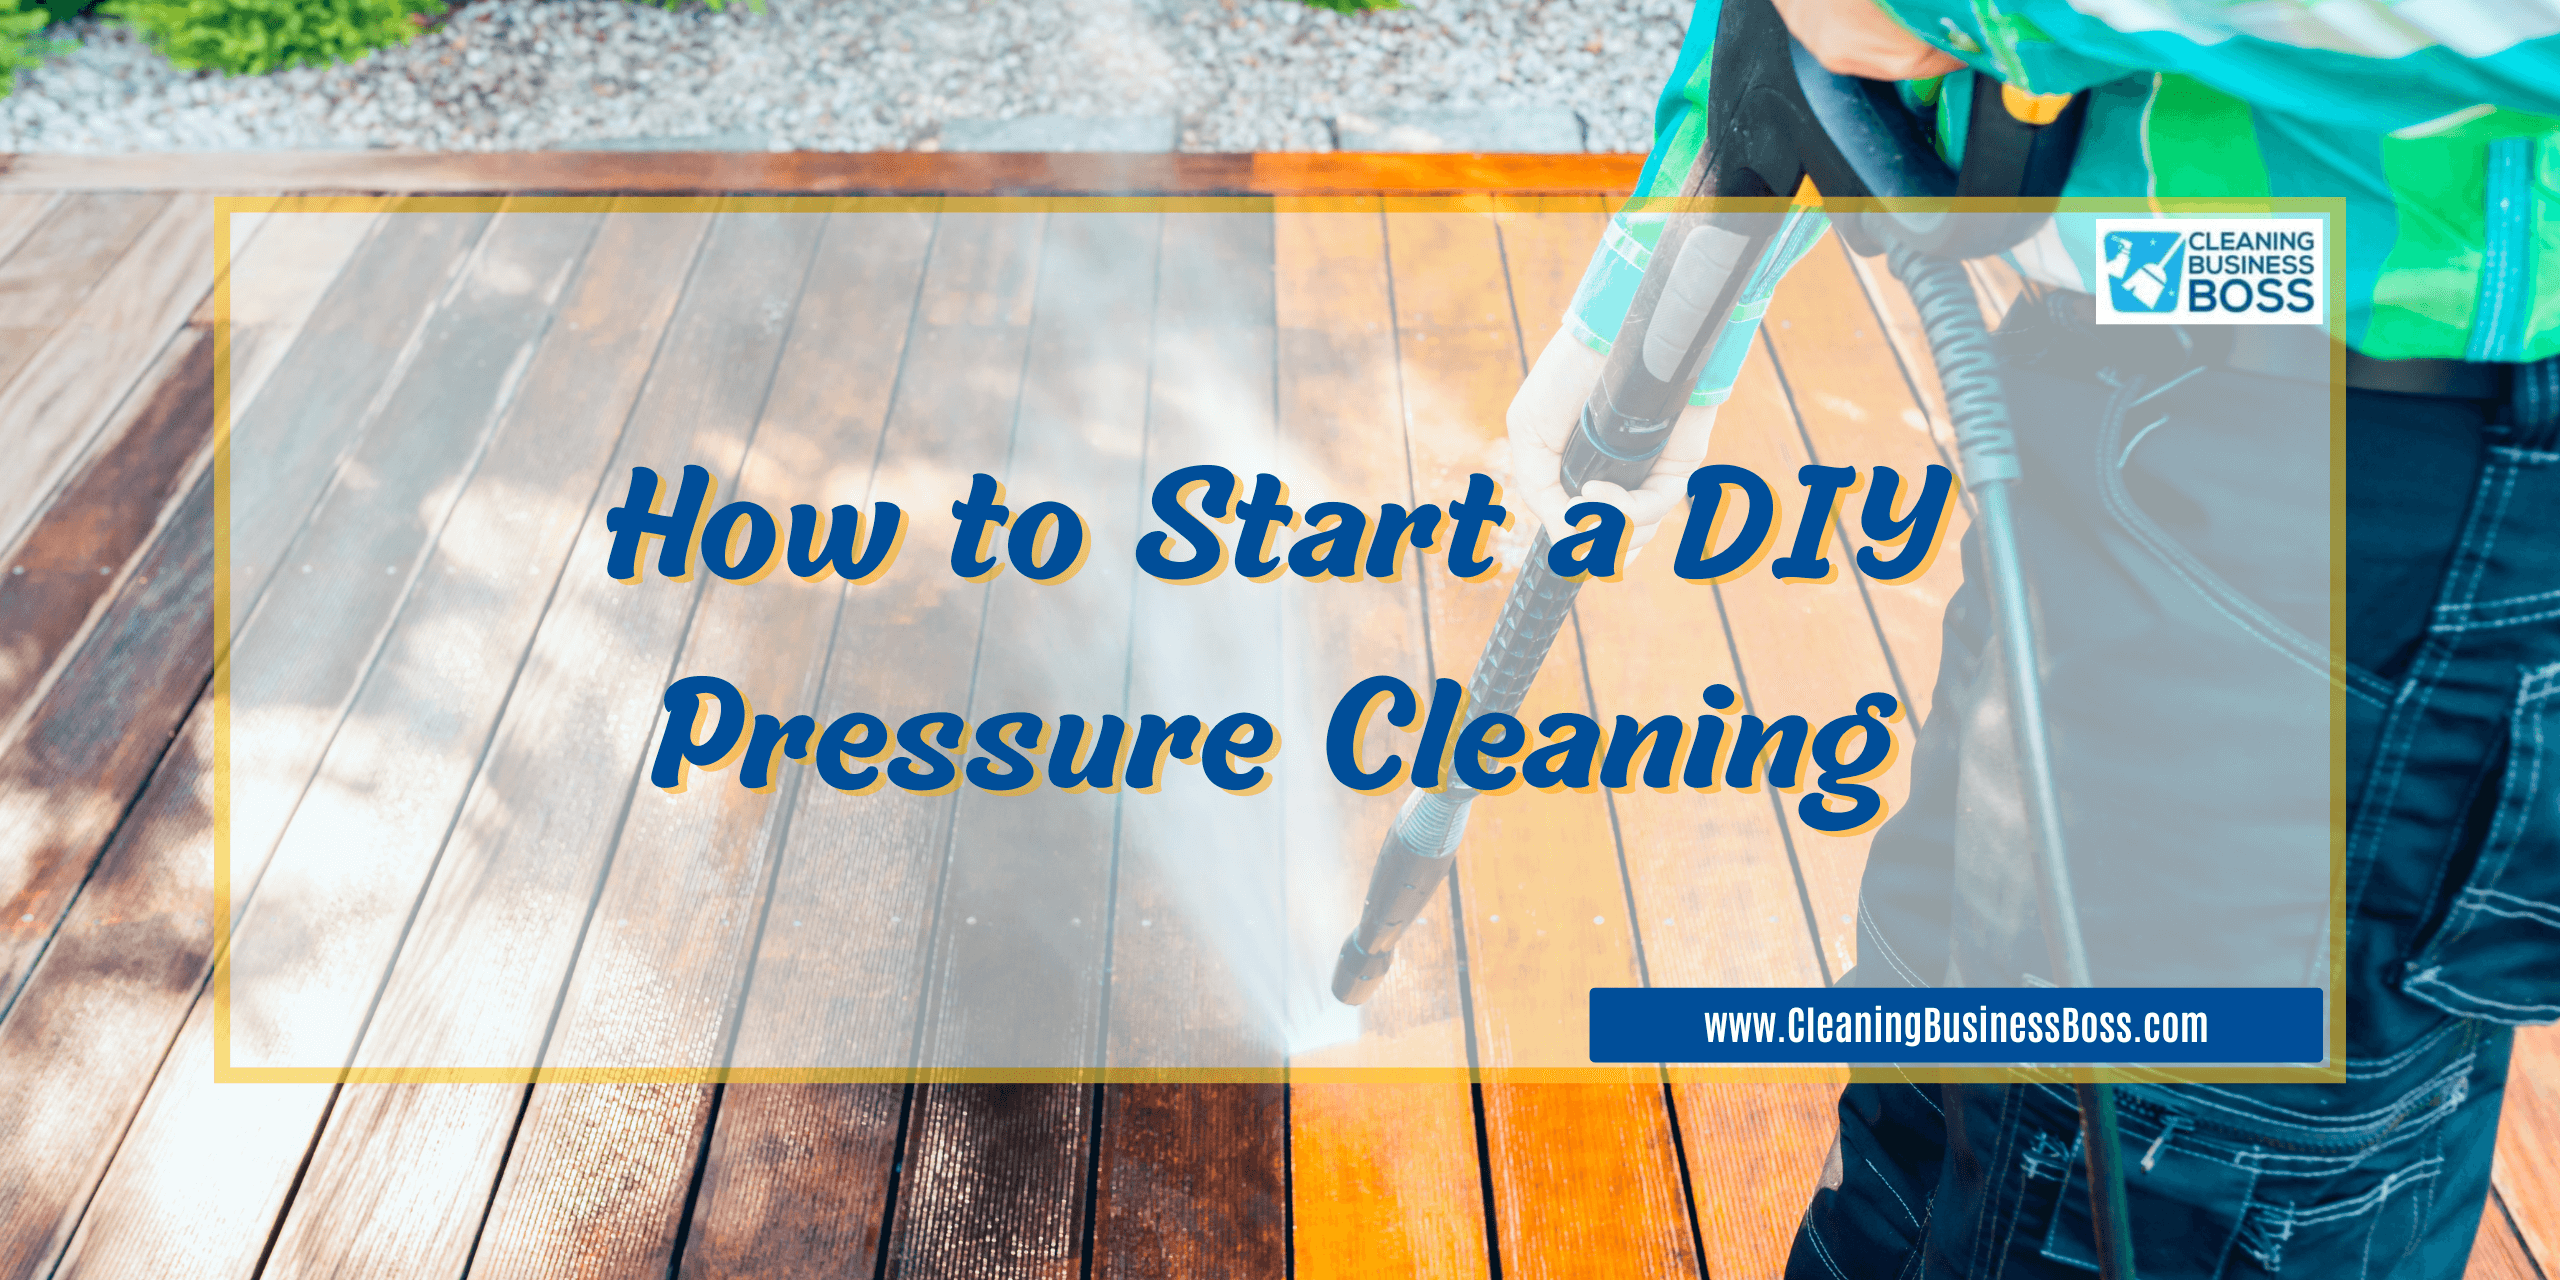
Beginning DIY pressure cleaning can be a very powerful and satisfying process. We’ve been through the complexities of this job before, so I know both the thrill and the difficulty that come with it. From learning the basics to mastering methods and safety measures, I’ll share what I’ve learned from my own experiences to help you get the best results. Whether you want to clean up your driveway, deck, or other outdoor areas, this complete guide will give you the skills and confidence to perform pressure cleaning chores with ease.
Based on my experience, I highly recommend grasping the basics, prioritizing safety, meticulous planning, efficient operation, mastering techniques, and diligent equipment maintenance to ensure successful DIY pressure cleaning projects as these steps ensure successful and rewarding pressure cleaning projects.
- Choose the right equipment: Select a pressure washer with the appropriate PSI (pounds per square inch) and GPM (gallons per minute) ratings for the cleaning tasks you need to tackle.
- Prepare the area: Clear the area of any obstacles or debris that could interfere with the pressure cleaning process, and cover delicate plants or objects that may be damaged by high-pressure water.
- Use proper technique: Hold the pressure washer nozzle at a consistent distance from the surface being cleaned, typically around 6 to 12 inches, and use smooth, overlapping strokes to ensure thorough cleaning without causing damage.
- Start with a low pressure setting: Begin pressure cleaning on a low pressure setting and gradually increase the pressure as needed, especially when cleaning delicate surfaces like wood or vinyl siding.
- Work systematically: Divide larger areas into smaller sections and work methodically, moving from one section to the next to ensure thorough cleaning and avoid missing spots.
Understanding DIY Pressure Cleaning
I had to learn the basics of DIY power cleaning before I could start. So, I began by learning about the tools I would be using: the power washer. The high-pressure hose, the trigger gun, and the motor that moves the pump are some of the parts I learned about. I need to choose the right pressure washer for my needs by looking at things like flow rate and water pressure.
Once I got my hands on the equipment, I needed to know which surfaces were suitable for pressure cleaning. I discovered common areas like driveways, decks, sidewalks, and even vehicles. However, I had to be careful with delicate surfaces like wood or painted exteriors. They needed a gentler touch to avoid causing damage. Researching and identifying the right cleaning solutions and detergents for each surface became a part of my routine. Understanding these fundamentals set me up for success in my DIY pressure-cleaning journey.
Essential Safety Precautions
When I did things on my own, like pressure washing, safety always came first. I made sure to read the power washer’s manufacturer’s instructions before I started. It was important to me to protect my eyes with safety goggles and my feet with strong shoes.
I swore I would never point the pressure washer gun at anyone, including myself. I didn’t want to take any risks because the high-pressure water jet could hurt me badly. I always did a test in a small area to make sure it wouldn’t hurt anything before I did a full cleaning. Following these safety rules gave me peace of mind as I started my do-it-yourself pressure-cleaning jobs.
Preparation and Planning
Planning and getting ready were very important for me to get great results when I did my power cleaning. First, I carefully checked the area and got rid of any heavy or flimsy things that might get in the way. Eliminating waste and sweeping up dirt and dust made the cleaning process go much more quickly.
It was important to me to think about how pressure cleaning might affect the earth. I planned my cleaning around times when I would use less water, and I always used cleaning products that were safe for the environment. I made sure my do-it-yourself pressure cleaning job would be successful and good for the environment by carefully planning and organizing everything.
Operating the Pressure Washer
The most fun was having to use the power washer. I put the hoses and attachments together the way the maker told me to and made sure everything was tight. I double-checked the water source and entry filter before turning it on to make sure nothing went wrong.
As soon as I was ready, I followed the manufacturer’s instructions and turned on the power washer. I needed to change the pressure settings based on the area I was cleaning. I always started with a test spray to see how much pressure I needed and then made changes based on that. I worked on each area in a planned way while keeping a safe distance. This made sure that I covered everything and got consistent results.
Cleaning Techniques and Tips
To get professional-quality results from my do-it-yourself pressure cleaning jobs, I had to learn a lot of different cleaning techniques. To keep the cleaning pattern even and avoid damage, it was important to hold the pressure washer tip at a steady distance from the surface. To get even covering and avoid streaks or missed spots, I made sure to use strokes that overlapped.
Fixing spots that wouldn’t come out took a little extra work. I cleaned the area first with special solutions and let them sit for a while before using a brush or washing pad to gently scrub it. To keep from doing damage, it was important not to put too much pressure on it or stay in one place for too long. By using these methods and tips, I was able to get results that were as good as a professional pressure cleaner.
Maintenance and Storage
Maintenance and storage of my equipment were very important after I finished my do-it-yourself pressure cleaning job. I turned off the power and water to the pressure washer and let any pressure that had built up go away. It became a habit to clean the tools well and look for signs of damage.
To make sure the pressure washer lasts as long as possible, it was important to store it in a dry, well-ventilated place away from extreme temperatures. I even thought about putting it in a cover or protected case when it wasn’t in use to keep dust and dirt out. Maintenance jobs like changing the oil and replacing worn parts regularly made sure that future projects would run smoothly. By taking the time to store and maintain my pressure washer correctly, I knew it would be ready for the next time I wanted to do some DIY pressure cleaning.
Pros
- Cost Savings: One significant advantage of starting a DIY pressure cleaning project is the potential for cost savings. Hiring professional cleaning services can be expensive, especially for larger areas or frequent cleanings. By taking on the task yourself, you eliminate labor costs and only incur expenses related to equipment and cleaning solutions, ultimately saving money in the long run.
- Convenience and Flexibility: Another pro of DIY pressure cleaning is the convenience and flexibility it offers. You have the freedom to schedule cleaning sessions at your convenience, without having to wait for appointments or work around someone else’s schedule. Additionally, DIY projects allow you to address cleaning needs promptly, whether it’s removing stubborn stains from your driveway or giving your patio a quick refresh before hosting guests.
- Learning Experience and Skill Development: Engaging in DIY pressure cleaning provides a valuable learning experience and an opportunity to develop new skills. As you tackle different surfaces and cleaning challenges, you gain hands-on experience and learn effective techniques for achieving optimal results. Over time, you become more proficient in using pressure washers and selecting the right cleaning solutions, empowering you to tackle a variety of cleaning tasks with confidence.
Cons
- Risk of Damage: One potential downside of DIY pressure cleaning is the risk of causing damage to surfaces if not done correctly. High-pressure water jets can be powerful enough to strip paint, etch concrete, or damage delicate materials like wood or vinyl siding. Without proper technique and understanding of surface compatibility, there’s a risk of unintentional damage, which can result in costly repairs or replacements.
- Safety Concerns: Safety is a paramount consideration when undertaking DIY pressure cleaning projects. The high-pressure water jets generated by pressure washers can pose significant safety hazards if not handled properly. There’s a risk of injury from the powerful spray, including cuts, bruises, and even more severe injuries if the nozzle is directed toward oneself or others. Additionally, the use of chemical cleaning solutions adds another layer of safety concerns, especially if proper protective gear is not worn or if the solutions are mishandled.
- Time and Effort Required: DIY pressure cleaning can be time-consuming and physically demanding, especially for larger or more challenging cleaning tasks. Preparing the equipment, pre-treating surfaces, and systematically cleaning each area requires time and effort. Additionally, factors like weather conditions and the need for multiple passes to achieve desired results can further extend the duration of the project. For individuals with busy schedules or limited physical capabilities, the time and effort required for DIY pressure cleaning may outweigh the benefits.
Conclusion
I’ve found that getting into do-it-yourself pressure cleaning is a very rewarding experience for homes and enthusiasts like me. After reading this blog post and following the detailed steps it suggested, I felt confident starting my pressure-cleaning job because I knew what to do. Putting on protective gear and getting to know it before using it has been very important for my safety.
Knowing what surfaces I’m cleaning and being very careful to choose the right pressure settings and chemicals have always given me great results without causing any damage. Maintaining my pressure washer has also been very important for making it last longer and making sure it works perfectly for future jobs.
As I’ve done more power cleaning on my own, I’ve loved the chance to try new things and get better at what I’m doing with each job. Taking part in online groups and forums has been very helpful in getting advice and support from other fans along the way.
I’ve seen how pressure cleaning can change the look of outdoor areas, driveways, and cars when done with care, practice, and the right knowledge. Putting on my gear and releasing the power of water, I eagerly encourage my fellow cleaning enthusiasts to start their projects with gusto!
To learn more on how to start your own cleaning business, check out my startup documents here.
Disclaimer: The information provided by CleaningBusinessBoss.com (“The Site”) is for general informational purposes only. All information on the Site is provided in good faith, however, we make no representation or warranty of any kind, express or implied, regarding the accuracy, adequacy, validity, reliability, availability, or completeness of any information on the Site. Under no circumstance shall we have any liability to you for any loss or damage of any kind incurred as a result of the use of the Site or Reliance on any information provided on the Site. Your use of the Site and your reliance on any information on the Site is solely at your own risk. This blog post is for educational purposes only and does not constitute legal advice. Please consult a legal expert to address your specific needs. Terms and Conditions

About the author. Entrepreneur and Cleaning Business Fan.
Hi! I am Shawn and I am a happy individual who happens to be an entrepreneur. I have owned several types of businesses in my life from a coffee shop to an import and export business to an online review business plus a few more and now I create online cleaning business resources for those interested in starting new ventures. It’s demanding work but I love it. I do it for those passionate about their business and their goals. That’s why when I meet a cleaning business owner, I see myself. I know how hard the struggle is to retain clients, find good employees and keep the business growing all while trying to stay competitive.
That’s why I created Cleaning Business Boss: I want to help cleaning business owners like you build a thriving business that brings you endless joy and supports your ideal lifestyle.